Like any mom, I've always believed that the kitchen is the heart of our home. There’s something magical about watching your children light up when they’re mixing, measuring, and creating something delicious with their own hands. If you’re lucky enough to have a child who shows a love for food and cooking, you’ve got a wonderful opportunity to nurture that passion in a way that’s both fun and educational. Here are some simple ways I’ve found to encourage little chefs, and maybe they’ll work for your family, too.

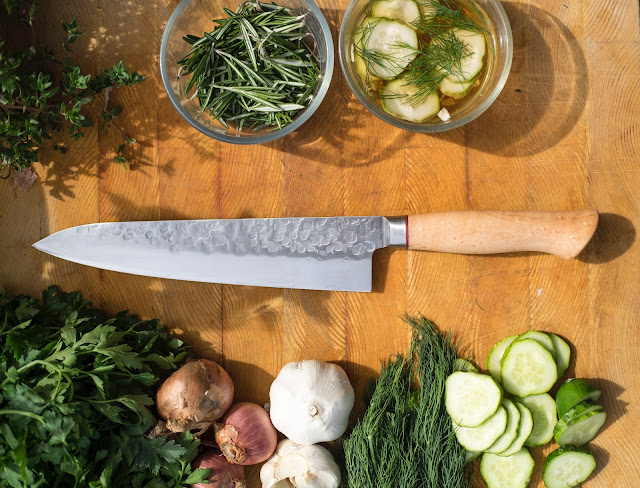
First and foremost, invite your child into the kitchen with you. This might seem obvious, but it can be easy to get caught up in the hustle and bustle of daily life and overlook these precious opportunities. Start with simple tasks that match their age and ability. Younger kids can help with washing vegetables, tearing lettuce for a salad, or sprinkling cheese on top of a dish. As they get older, you can introduce them to more complex tasks like measuring ingredients, cracking eggs, or even following a simple recipe on their own. The key is to let them take the lead when they’re ready, so they feel a sense of accomplishment and ownership over the meal.
One resource I’ve found particularly helpful is the online games from culinaryschools.org. These games are perfect for those moments when I need to keep the kids entertained while still fueling their passion for cooking. The games cover everything from food safety to recipe creation, all wrapped up in an engaging, interactive format that’s easy for kids to understand. It’s a great way for them to learn new skills or reinforce what they’ve already picked up in the kitchen, all while having fun.
Have your kids check out Cooking Street. It's a lot of fun, and helps with coordination while cooking and serving food. It exciting to get to the next level. Parents will love the game just as much as the kids. Ask me how I know!


Another way to keep their interest alive is to make cooking a family affair. Plan meals together and let your kids have a say in what’s on the menu. This doesn’t mean you have to make chicken nuggets every night, but by involving them in the planning process, they’re more likely to try new foods and enjoy the experience. We like to pick a theme for our meals sometimes—like “Taco Tuesday” or “Pizza Night”—and everyone gets to contribute in their own way. It turns cooking into a fun, collaborative effort rather than a chore.
Finally, don’t forget to celebrate their efforts, no matter how small. Whether it’s a simple “Great job!” or letting them pick the family’s dessert for the night, these little moments of recognition can go a long way in building their confidence. And remember, it’s okay if things don’t always go perfectly. Cooking is a learning process, and mistakes are just part of the journey. The important thing is that they’re trying, learning, and most of all, enjoying themselves.
So, if your child shows an interest in food and cooking, embrace it. By encouraging them in the kitchen, involving them in meal planning, and even growing a few ingredients together, you’re not just teaching them valuable life skills—you’re also creating memories that will last a lifetime. And who knows? You might just have a future chef on your hands!


.png)